Part 03 - To The End ... and Beyond
w/e 13 October 2013
All this week's pictures were taken
with a Kodak DX6490
In this final part of the Belper Heritage Walk 2
we cover some of the same ground seen in the first walk and continue
from a point common to both walks on Joseph Street.
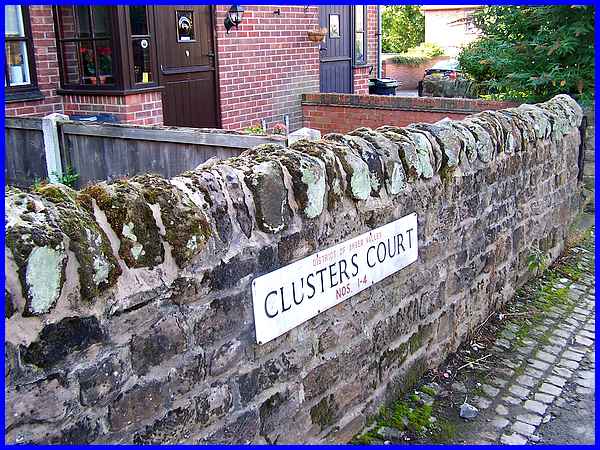
The first walk continued to the bottom of Joseph Street passing
Clusters Court but the route of the second walk turns right opposite
this name sign. Even though the properties are relatively new
the name refers to the "cluster buildings", blocks
of four semi-detached, back-to-back houses built by the Strutts
to house their workers between 1818 and 1820. Many of those original
buildings in this area are still standing.
|
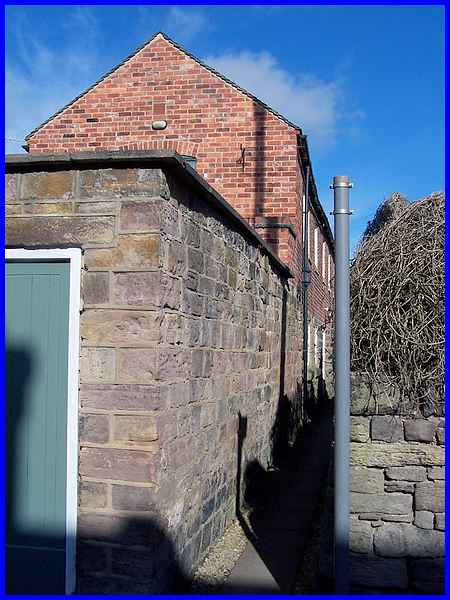
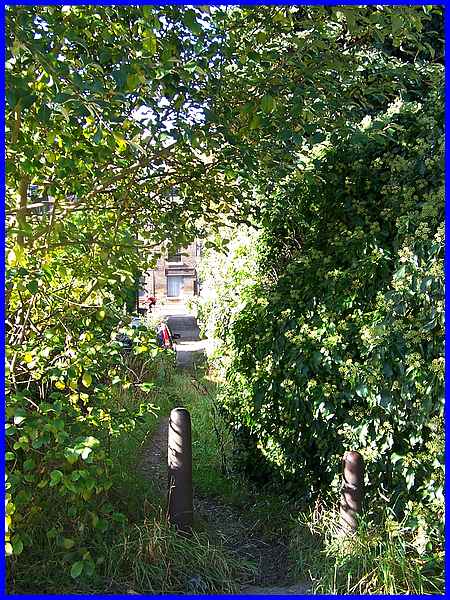
  A narrow channel
opposite the sign leads to George Street (left) and turning left
at the end takes us to Clusters Road (right). The building on
the left hand side of the channel has been converted into a house
but was originally built as a workshop for men. The Strutts wanted
mainly women and children to work in their mills but provided
workshops to enable whole families to settle in Belper. A narrow channel
opposite the sign leads to George Street (left) and turning left
at the end takes us to Clusters Road (right). The building on
the left hand side of the channel has been converted into a house
but was originally built as a workshop for men. The Strutts wanted
mainly women and children to work in their mills but provided
workshops to enable whole families to settle in Belper.
|
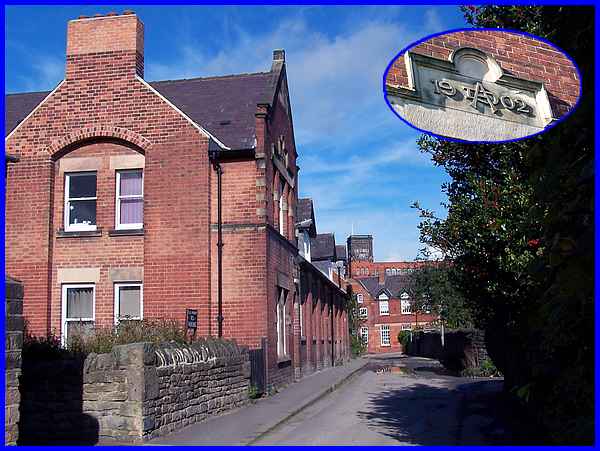
The most notable feature of Clusters Road is the large building
occupying most of one side of the street and which is the Drill
Hall. The inset of the gable end shows that it was built in 1902.
|
Next to the Drill Hall and easy to miss unless you are looking
for it is another channel running down to the main road, Bridge
Street. This channel is known as Piggy Hill because butcher Edward
Ryde used it from 1896 to herd in his fresh stocks of pigs.
|
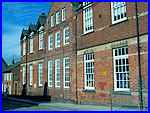 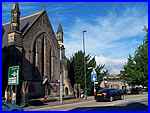 At the end of Clusters Road is Long Row which
again is a street we looked at in some detail in the first Heritage
Walk. Suffice it here then as we make our way towards The Triangle
(above) to mention the Long Row School (left) of 1818 provided
by the Strutts and Christ Church of 1850 (right) on the main
road opposite the end of Long Row also courtesy of the Strutt
family. At the end of Clusters Road is Long Row which
again is a street we looked at in some detail in the first Heritage
Walk. Suffice it here then as we make our way towards The Triangle
(above) to mention the Long Row School (left) of 1818 provided
by the Strutts and Christ Church of 1850 (right) on the main
road opposite the end of Long Row also courtesy of the Strutt
family.
|
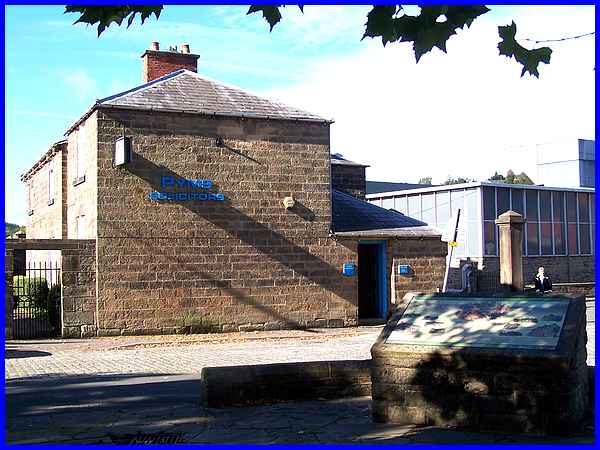
The interpretation board on The Triangle is also something to
feature in that other walk but the building housing Pyms Solicitors
is not. This building housed the mill armoury whilst the newer
building to the right is on the site of the demolished West Mill.
|
The Triangle is at the junction of three roads - from Derby to
the south, north east to Matlock and north west to Ashbourne.
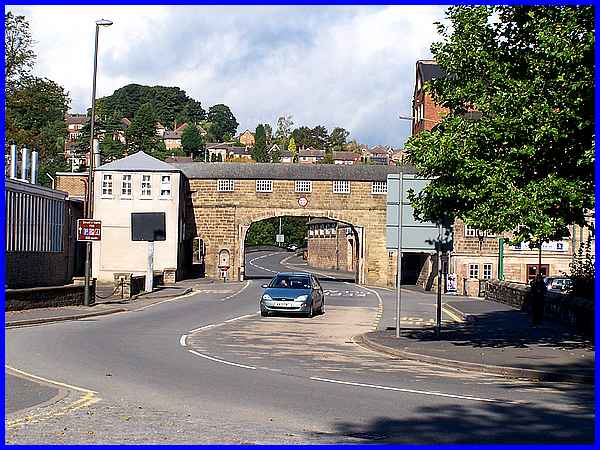
The conclusion of this walk is via the Ashbourne road along Bridge
Foot and under the Gangway of 1795 which originally linked the
North and West mills. The bridge over the River Derwent is visible
through the arch.
|
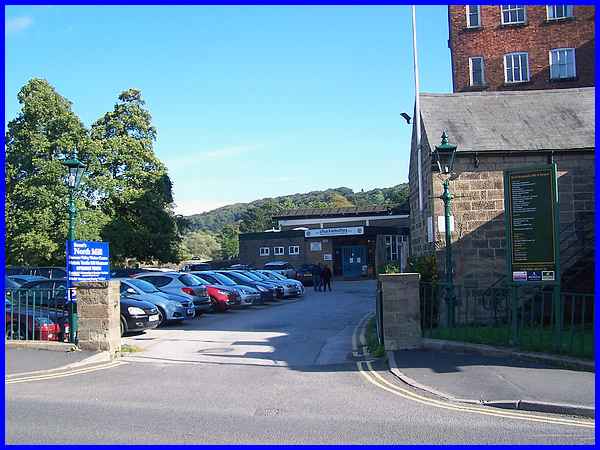
The walk actually concludes at the Derwent Valley Visitor Centre
in the North Mill and is approached
via the car park access between the Gangway and the river.
|
Although not included on the leaflet describing the walk, many
who follow the route will venture onto the bridge over the river
to admire the Horseshoe Weir on the eastern side of the bridge.
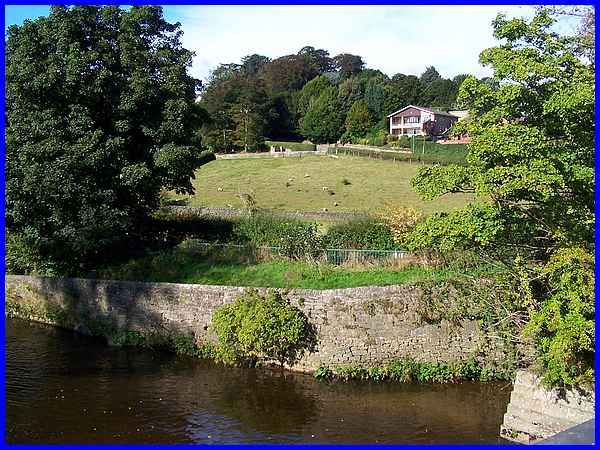
In doing so they will probably miss the views to the west like
this one of Bridge Hill. After crossing the bridge the road to
Ashbourne swings to the left to head off up Bridge Hill and then
on to Ashbourne.
|
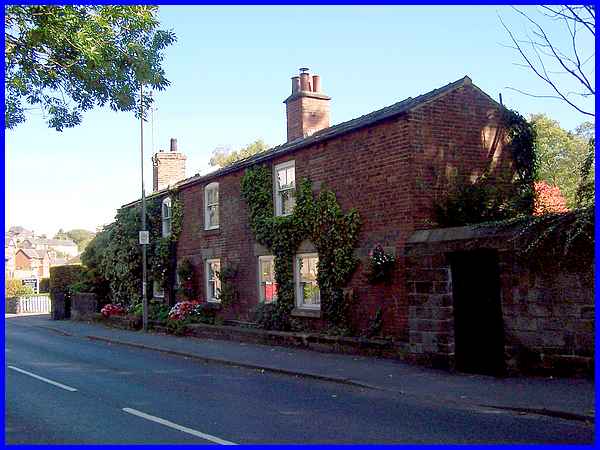
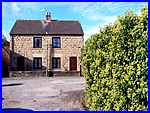
We did no go that far though and our reason for crossing the
bridge was to see this old building. There is no visible clue
to its former use but I am reliably informed that it was once
Belper's hospital.
The Heritage Walk 2 is a linear walk ending at the Visitor Centre
but depending on the time available there are several options
from here. The Riverside Gardens are within easy reach and if
the Centre is open, an hour or so could be spent in there. There's
a direct route back to the start along the main roads or perhaps
a more indirect route via back streets and footpaths. Or even,
like we did recently in the Autumn Footprints Walking Festival,
follow the path by the river and climb the hills to the north
of Belper .... but that's another story.
|