Cossall - The Robbinetts Arm (Scenery)
w/e 23 January 2005
All this week's pictures were taken
with a Kodak DX6490
|
It was only a very short walk as can be seen from
the red line on plan opposite but in a week where the weather
was changeable to say the least - gales, mild, cold, rain, bright
spells with even a few snow flurries thrown in for good measure
- it was too good an opportunity to miss when we awoke one morning
to a bright clear winter's day. So as we had an hour to spare,
we answered the call of the countryside and drove to a car park
on Dead Lane from where we set off to explore the Robbinetts
Arm of the disused Nottingham Canal just south of Cossall Village.
The red numbers 1 to 6 on the plan indicate the approximate positions
of the following images.
|
|
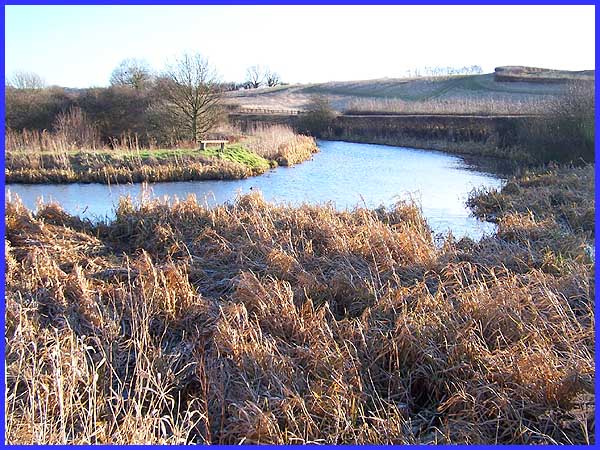
When the Nottingham Canal was constructed in the early 1790s,
this section to the south of Cossall was built in a loop and
on an embankment so as to maintain its level aspect on its way
to Nottingham from Langley Mill. The canal was slightly less
a than fourteen and a half miles long and had seven short side
branches of which the Robbinetts Arm is just one. This first
image from the towpath is looking towards the Robbinetts Arm
and the frosty fields beyond across the overgrown canal. We would
shortly be walking along the towpath behind the wooden bench
opposite but first we had to cross the canal.
|
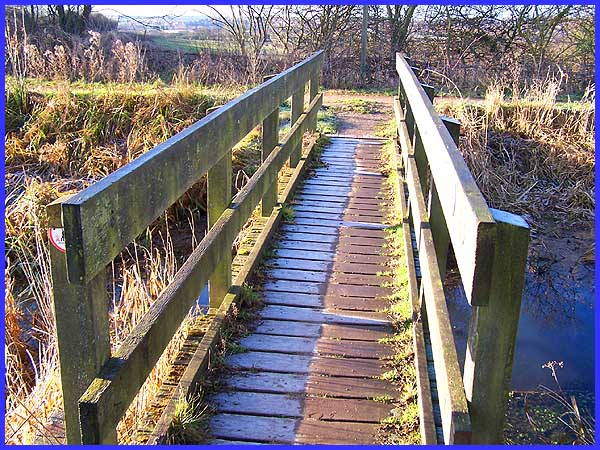
A little further round the loop, this footbridge now provides
an easy way across the canal. as we have already seen above,
there had been a sharp frost overnight and although the ground
was beginning to ease, this picture shows the frost still remained
in the shadows where the sun had not yet reached. Through the
hedgerow, Ilkeston can be seen in the distance.
|
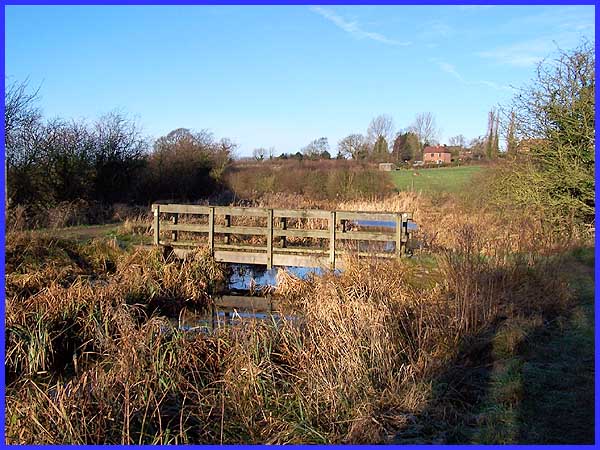
Returning up the other side of the canal, a look back towards
the bridge also showed some of the houses in Cossall Village.
At this point the canal, built up on its embankment, is high
above the fields to the left and Dead Lane to the right which
leads into the village.
|
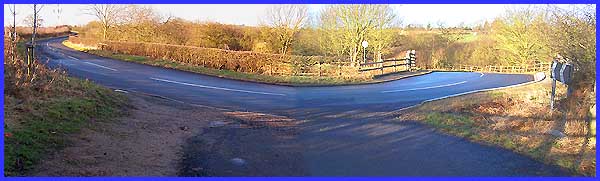
Where Dead Lane and the Robbinetts Arm come together, there used
to be a swing bridge but now motorists just have to negotiate
a hairpin bend to drop down the hill (right) before rising again
into Cossall or vice versa of course if travelling in the opposite
direction to Trowell (left).
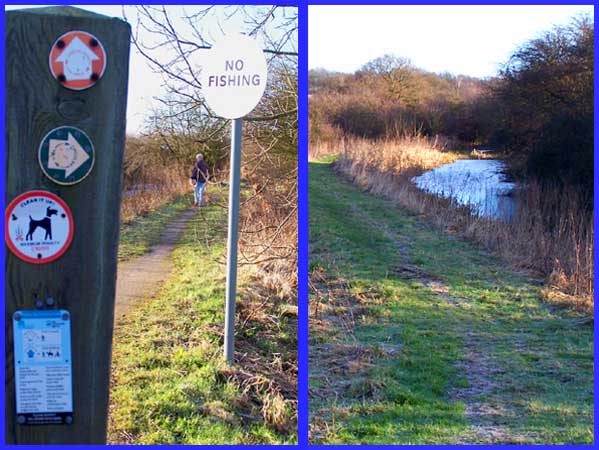
We carefully crossed Dead Lane here and I stress "carefully"
for despite its name, the road is quite a busy one and visibility
at this point in not the best so it is advisable to listen as
well as look for traffic. The two views in the image above were
both taken from the road but in opposite directions. On the left,
the path back to the Nottingham Canal is well worn and, as can
be seen by the notices and signs, is well used by walkers (but
not fisherman) whilst on the right, the continuation along the
Robbinetts Arm it is still grass-covered and is obviously less
well used.
|
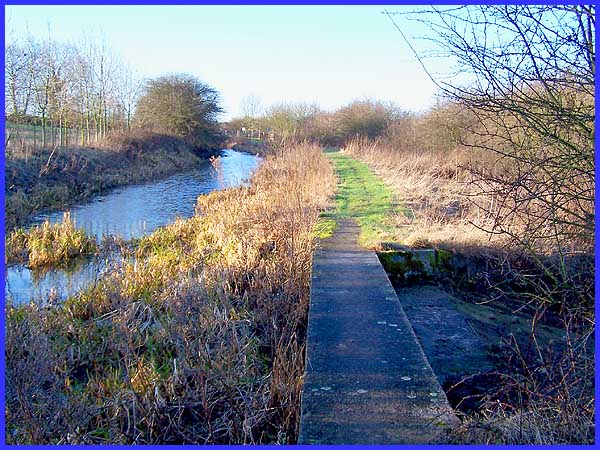
From the overflow channel looking back towards Dead Lane this
is a peaceful scene today but two hundred years ago the same
view would have been much different. In the first part of the
nineteenth century, canals in this area were the main means of
transportation especially for coal and they continued to be so
until the railways took over about 1840. The Nottingham Canal
continued to carry traffic until 1928 but was abandoned in 1937.
|
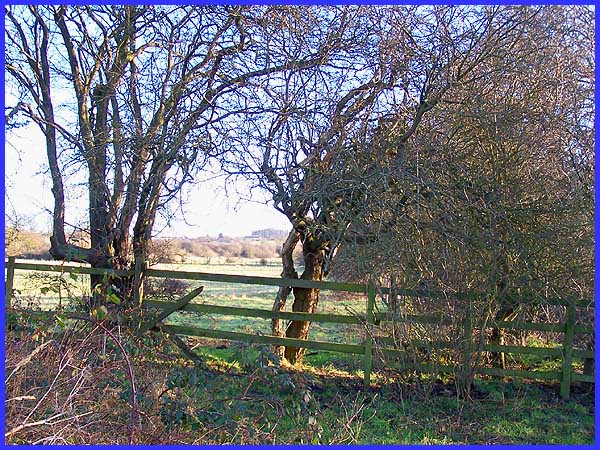
This is about as far as you can go along the Robbinetts Arm without
climbing fences and walking across fields and today there is
little evidence to suggest why the Arm was built. But across
the canal to the right and just a little further on, maps show
the existence of a disused mine so it's a fair assumption that
the prime function of the Robbinetts Arm was to allow the collection
of coal from there for delivery to the River Trent at Nottingham.
Continued in Part 2
- Flora and Fauna
|