The Whittlestone Walk - Part 02
w/e 04 December 2011
All this week's pictures were taken
with a Kodak DX6490
We discovered in Part 01 that the "Country Walks
in and around Erewash" leaflet for the Whittlestone Walk
was no longer available for download although circuit markers
were still in place at various point along the route. It becomes
even more apparent in this part however, why the leaflet is no
longer available. Whilst the Whittlestone Walk is a circular
route I actually incorporated approximately this second mile
into a linear walk as the start of this part necessitated about
a mile's walk to reach the point on the Nutbrook Trail where
we broke off last time. Although dry for the duration of the
walk, there had been some earlier rain and conditions underfoot
in places were a little muddy.
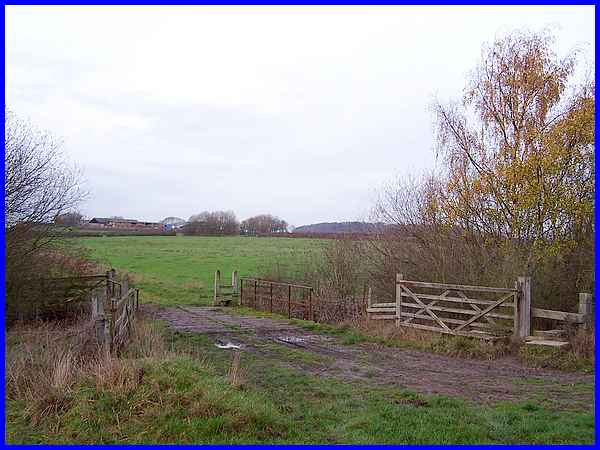
  The route from
the Nutbrook Trail is down by the side of the hedge to a bridge
over the Nut Brook. It then crosses a field (left) to reach a
farm track (right). I still have a leaflet describing the walk
which reads "The field boundaries here are not yet shown
on the OS map following reinstatement after opencast mining"
but the said leaflet was printed over eleven years ago. The route from
the Nutbrook Trail is down by the side of the hedge to a bridge
over the Nut Brook. It then crosses a field (left) to reach a
farm track (right). I still have a leaflet describing the walk
which reads "The field boundaries here are not yet shown
on the OS map following reinstatement after opencast mining"
but the said leaflet was printed over eleven years ago.
|
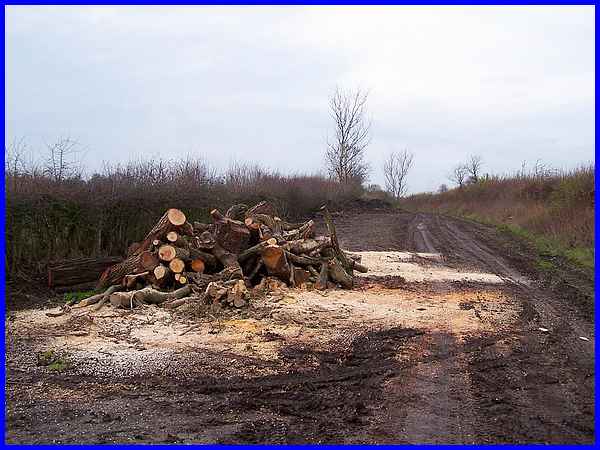
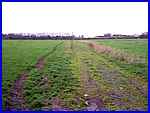
It is from here that the differences between the landscape and
the description are at odds and it is obvious why the leaflet
is no longer available for it talks of crossing footbridges,
over stiles and heading for a particular tree. Judging by the
wood pile at the side of the farm track, I am not even sure that
tree still exists. The hedgerows seem pretty well established
too and from old maps it appears that the farm track is actually
following the route of a former railway line.
|
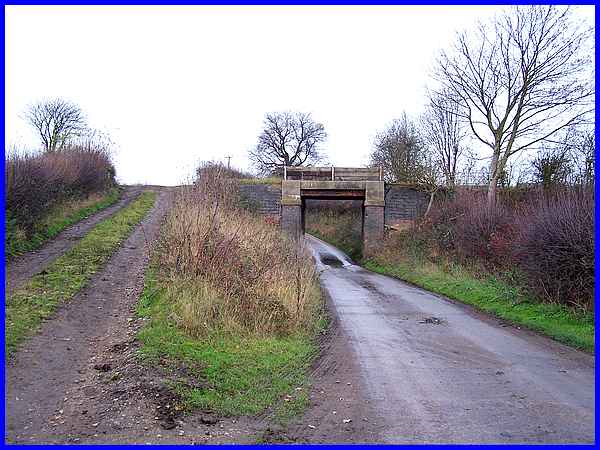
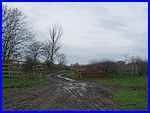
After passing the entrance to Head House Farm on the right (as
per the leaflet) the railway theory is confirmed where the track
crosses over Slack Road. I should have turned right immediately
after crossing the bridge but that path was particularly muddy
so I turned left instead to reach Slack Road and doubled back
to pass under the bridge to regain the intended route.
|
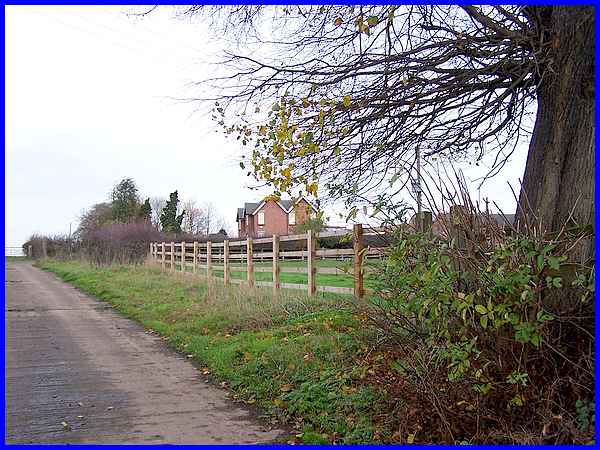
The remainder of the route now into Mapperley Village is along
Slack Road first of all rising up from the railway bridge to
pass the farmhouse at Head House Farm.
|
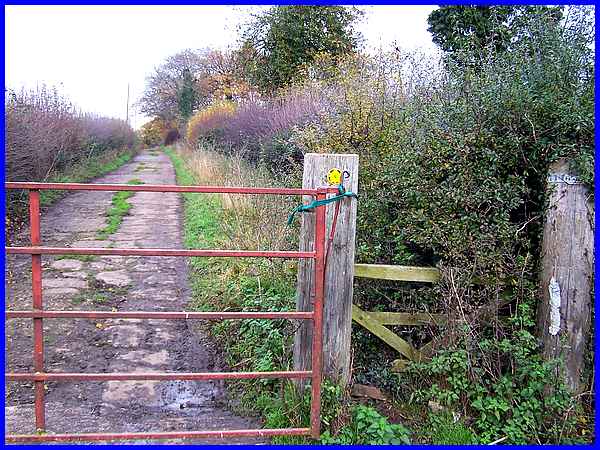
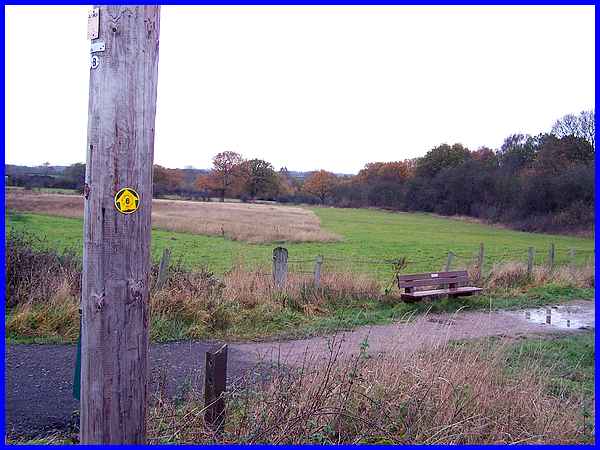
A waymarker on the gate post adjacent to the farmhouse was enough
to confirm that this was the correct route with a number six
in the yellow arrow pointing the way forward.
|
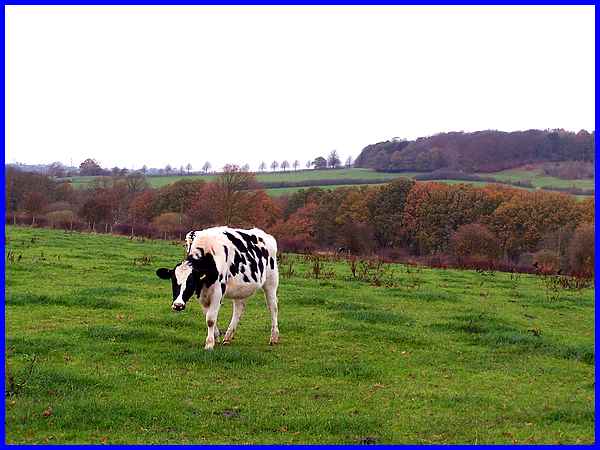
  So far we have been heading in a generally north
westerly direction but since leaving the former railway track
we are now heading almost directly due north with the wood on
Shipley Hill coming ever nearer. Inquisitive cattle in the field
to the left gave me quizzical looks as I descended the bridleway
(left) to turn to the west at a junction and continue along Slack
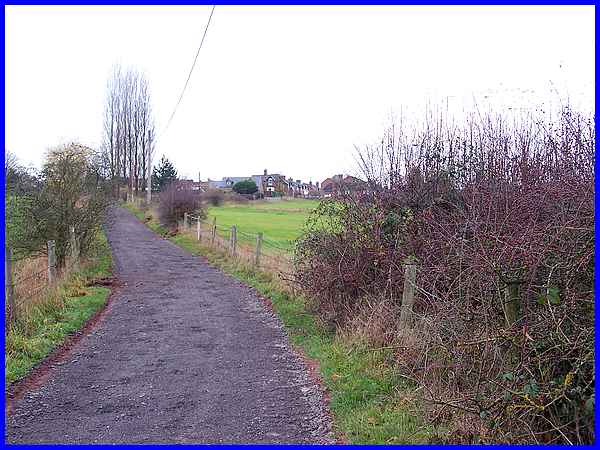
Road (right) towards Mapperley. So far we have been heading in a generally north
westerly direction but since leaving the former railway track
we are now heading almost directly due north with the wood on
Shipley Hill coming ever nearer. Inquisitive cattle in the field
to the left gave me quizzical looks as I descended the bridleway
(left) to turn to the west at a junction and continue along Slack
Road (right) towards Mapperley.
|
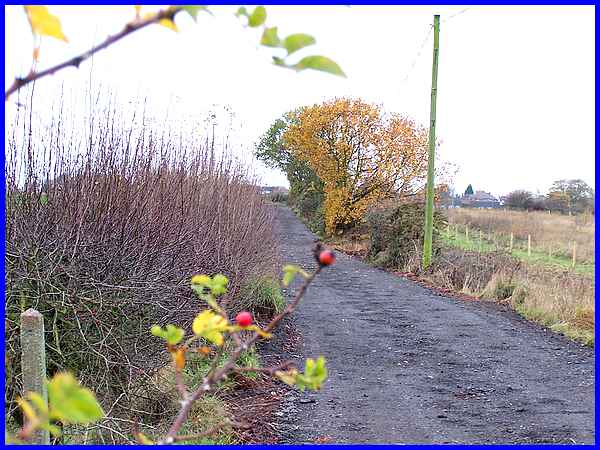
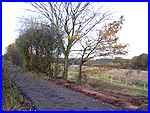
There were still plenty of signs of autumn in the berries and
the colours of the trees but it was the surface of the track
that caught my attention too. It seemed to be compressed hardcore
or slag and I'd surmise that the name of Slack Road although
now adopted as such, originated as a nickname when coal mining
was an important industry in the area. I remember heavy lorries
driving along here in clouds of coal dust or very small pieces
of coal commonly known as slack.
|
At another junction on Slack Road the now familiar waymarker
points the way forward again. This path to the right leads into
Mapperley
Wood and Nature Reserve that we visited back in 2005 from
the other side.
|
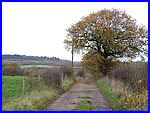
It's now just a gentle rise up Slack Road into the village.
|
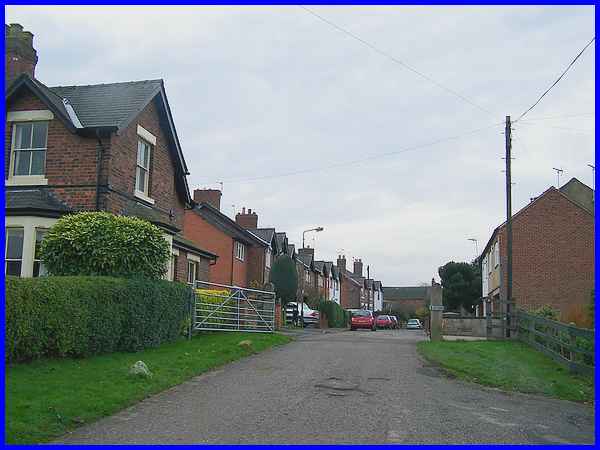
Passing through the gate at the edge of the village leads onto
Coronation Road and the completion of the second mile of the
walk. Which means we shall have to make our way to Mapperley
to begin Part 03 which will probably be some time in the New
Year.
|